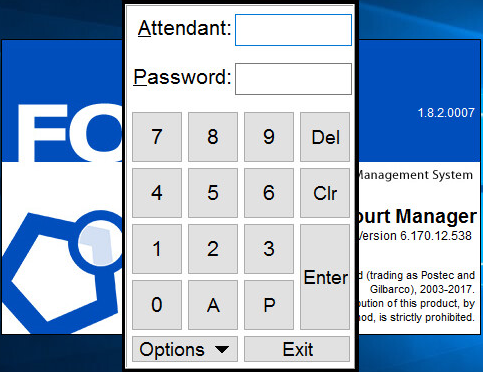
When using the Forecourt Manager, you will need to know the Attendant Code and Password.
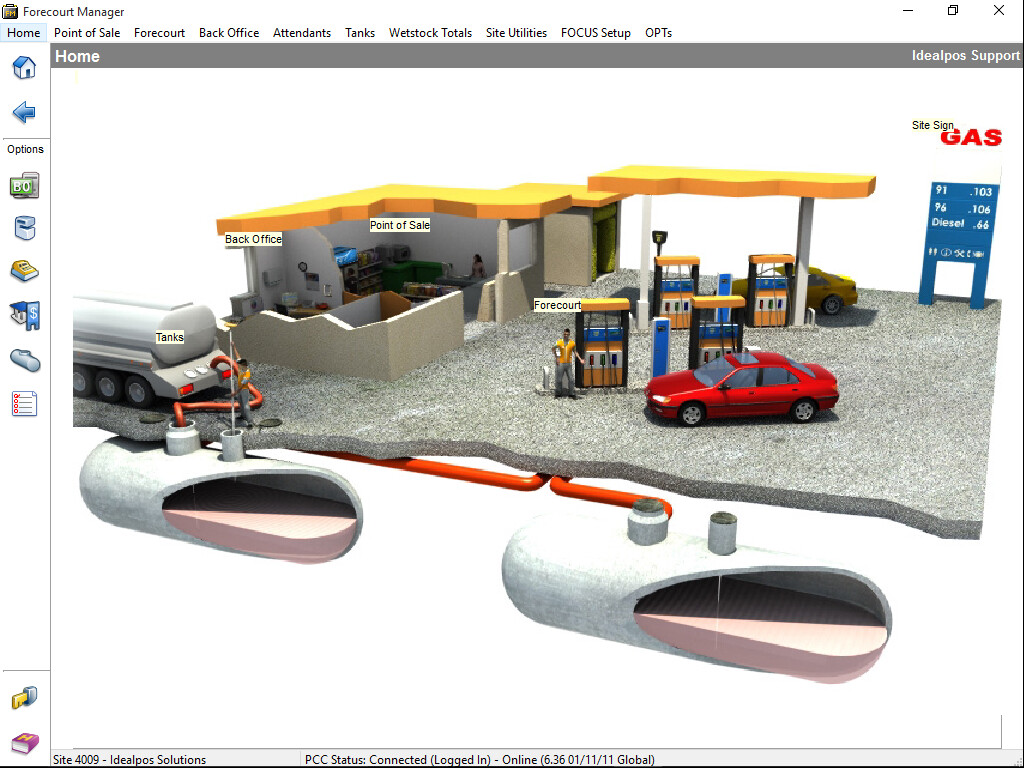
The Forecourt Manager will open where you can adjust different settings.
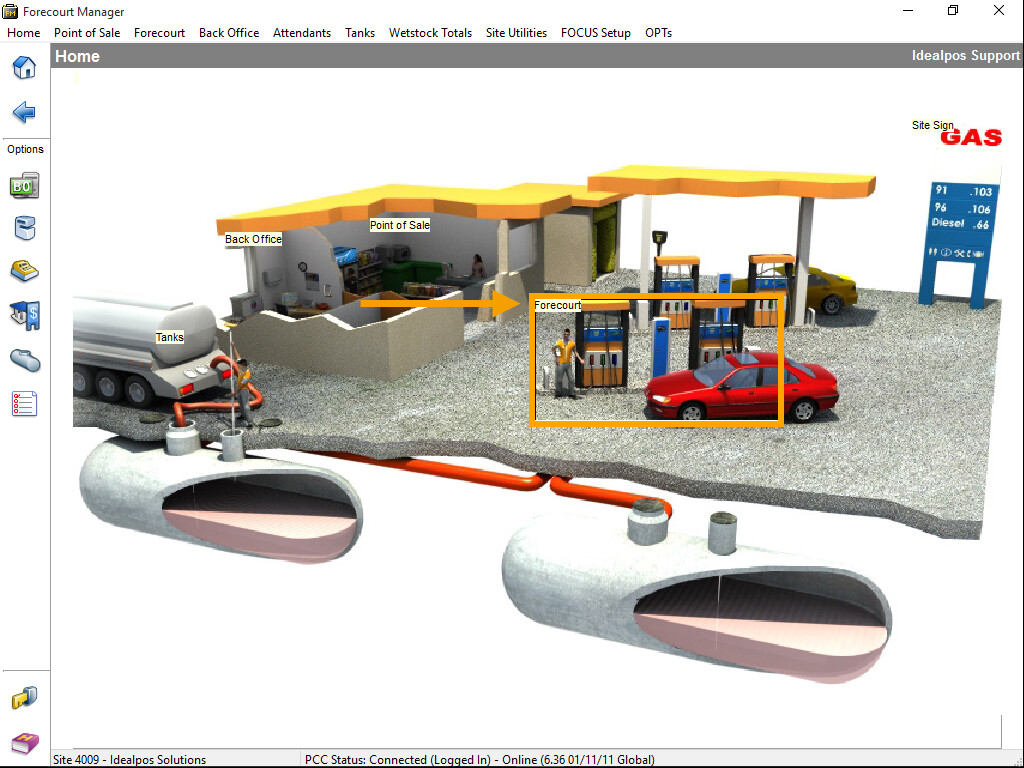
The appearance of the Forecourt Manager Home screen will vary, depending on how it has been configured.
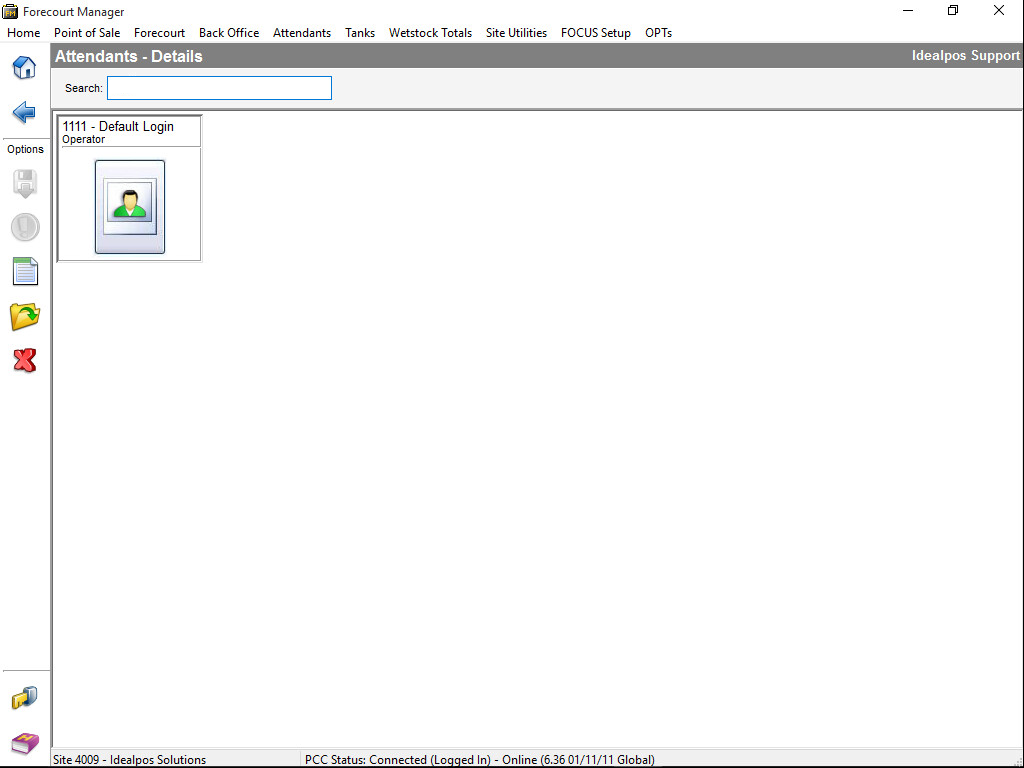
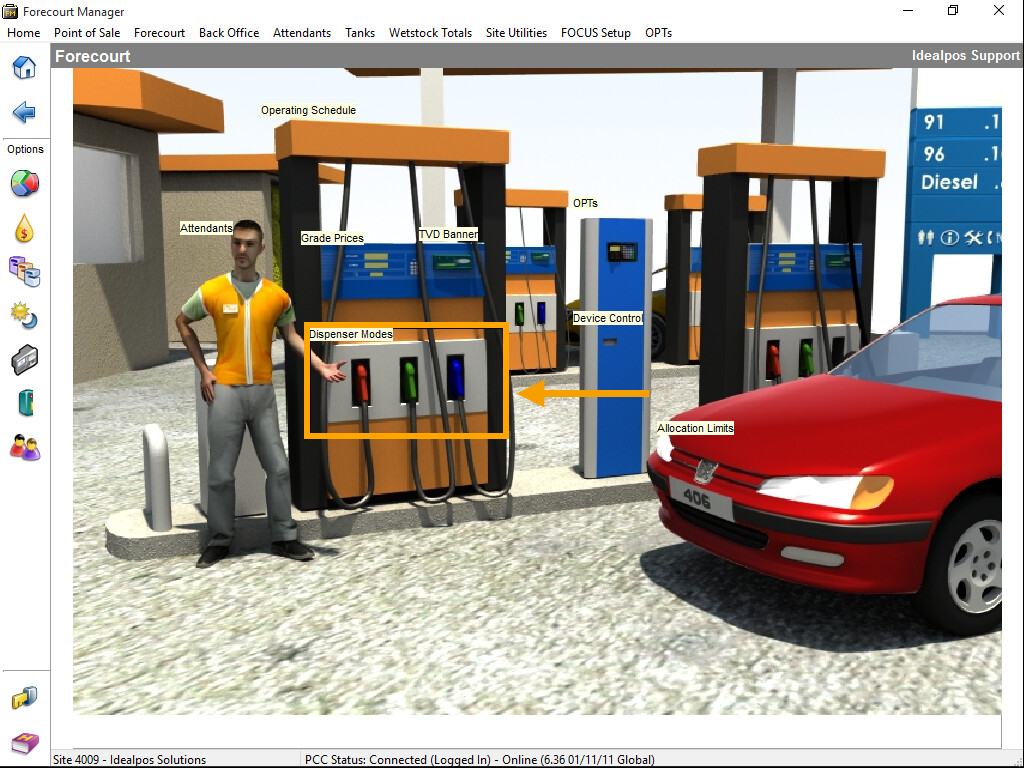
By default, the Home screen will appear in the "Graphical" view type, as shown below:
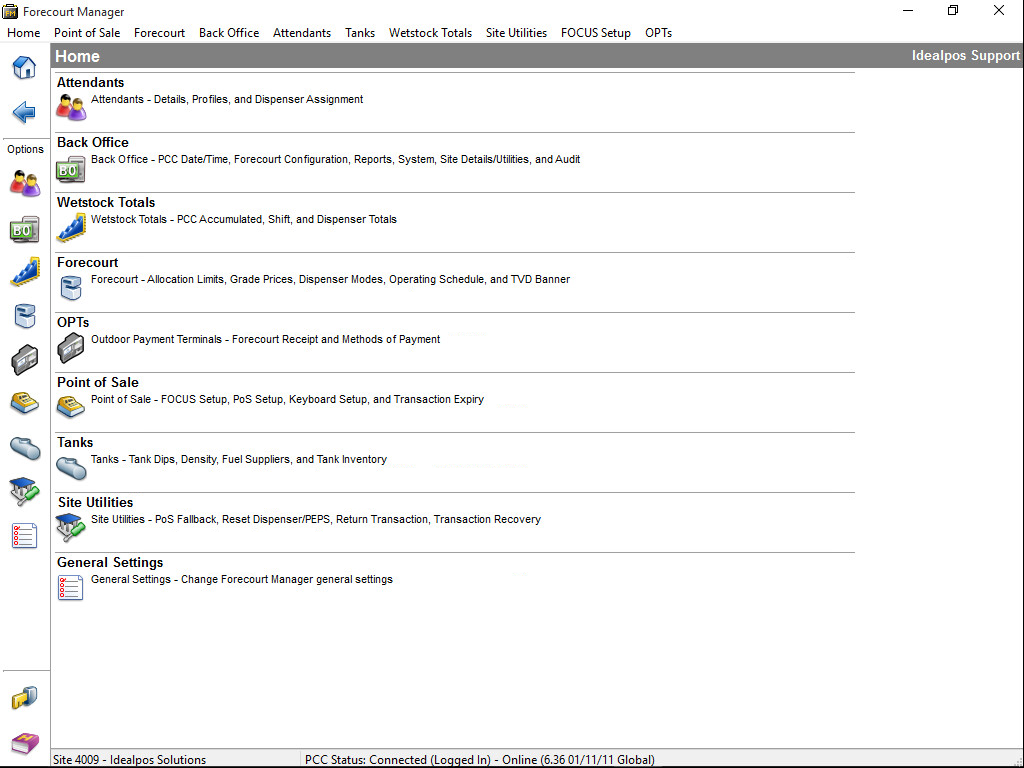
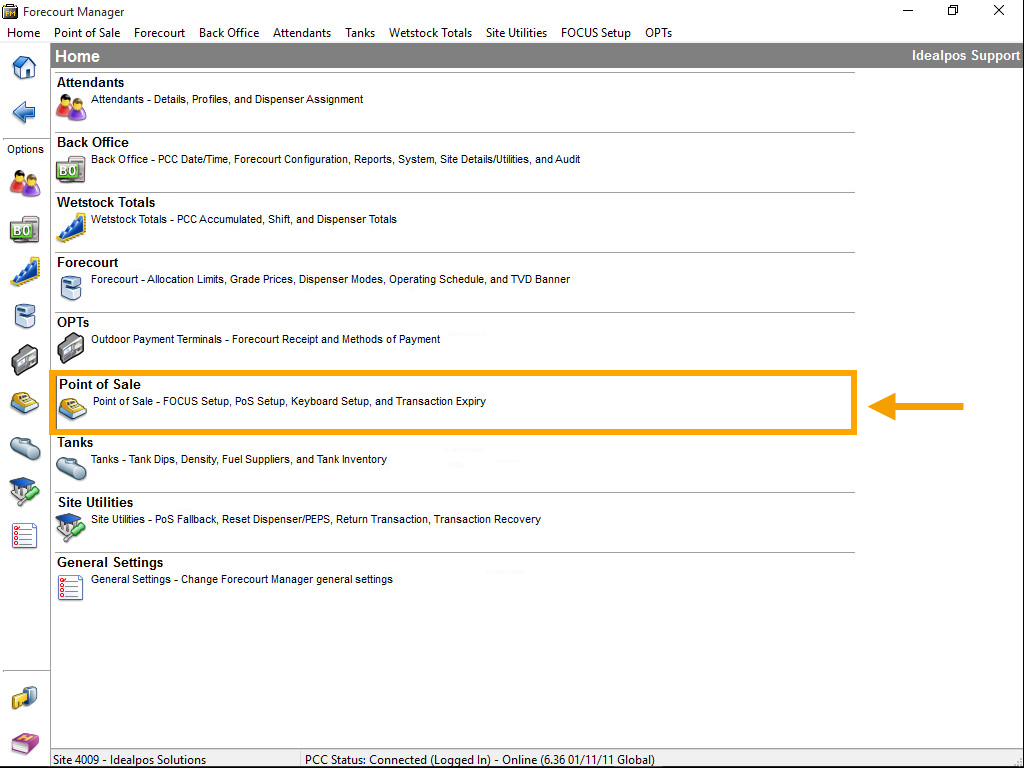
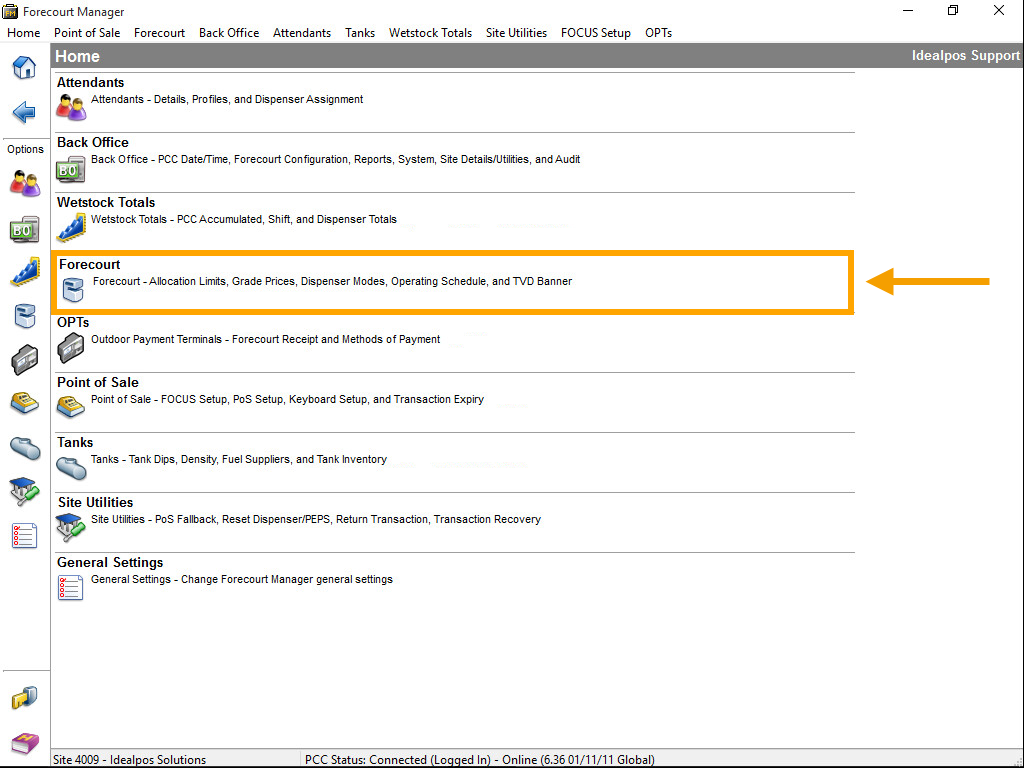
Alternatively, it may appear in a Detailed view, as shown below:
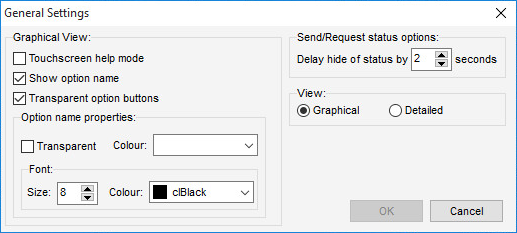
The View type can be toggled by pressing on the Home menu > General Settings > View.
Toggle the View option between Graphical or Detailed.
Go to Attendants > Attendant Details. In this section you will need to make notes of the Attendant Code and Password for each Attendant, and link them to the Clerk within Idealpos.
Depending on your database setup, you may need to create attendants for each Clerk.
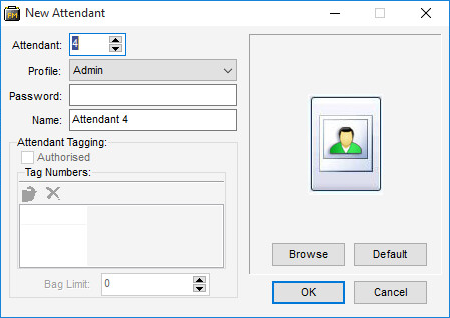
To create new Attendants, press the "New" button located on the left-hand side of the window.

The New Attendant window will open, where you can enter the details for the new Attendant.
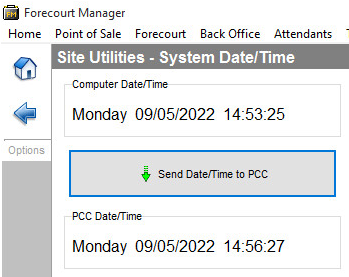
Go to the Back Office section and access both PCC Date/Time and Forecourt Configuration.
Idealpos provides a functionality to ensure all the POS Terminals connected will be time synced.
It is a good idea to synch the time from a terminal that will be correct with all other terminals.
This can be performed in Idealpos using the Time Synch Master function on the relevant IPS Client.
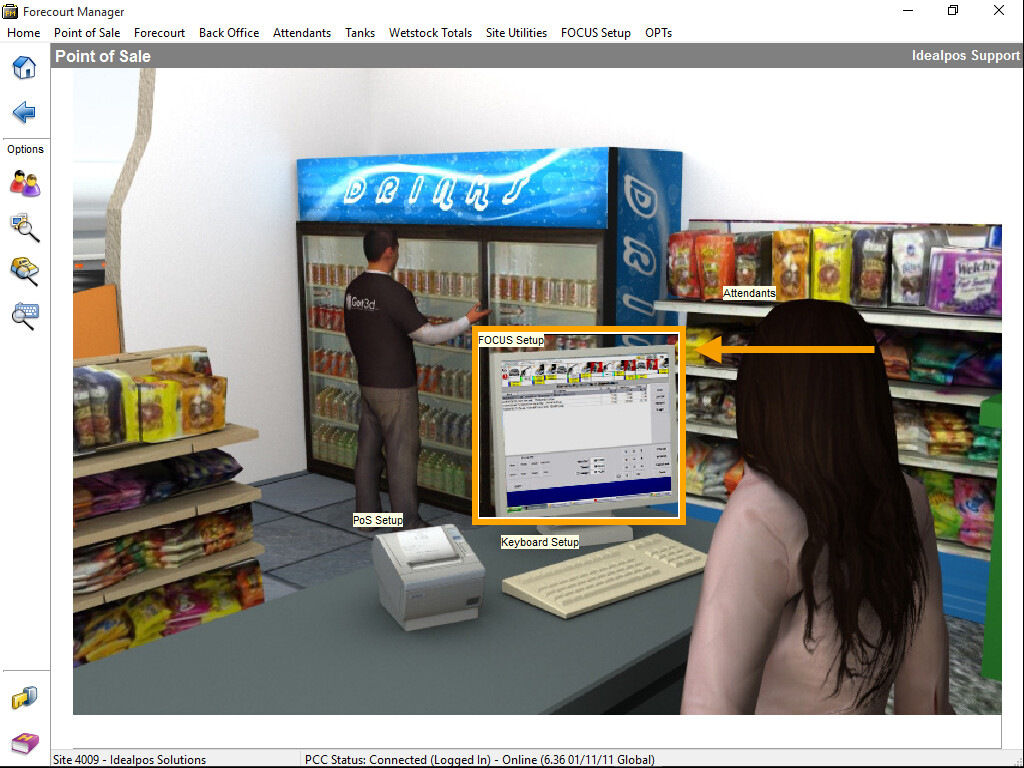
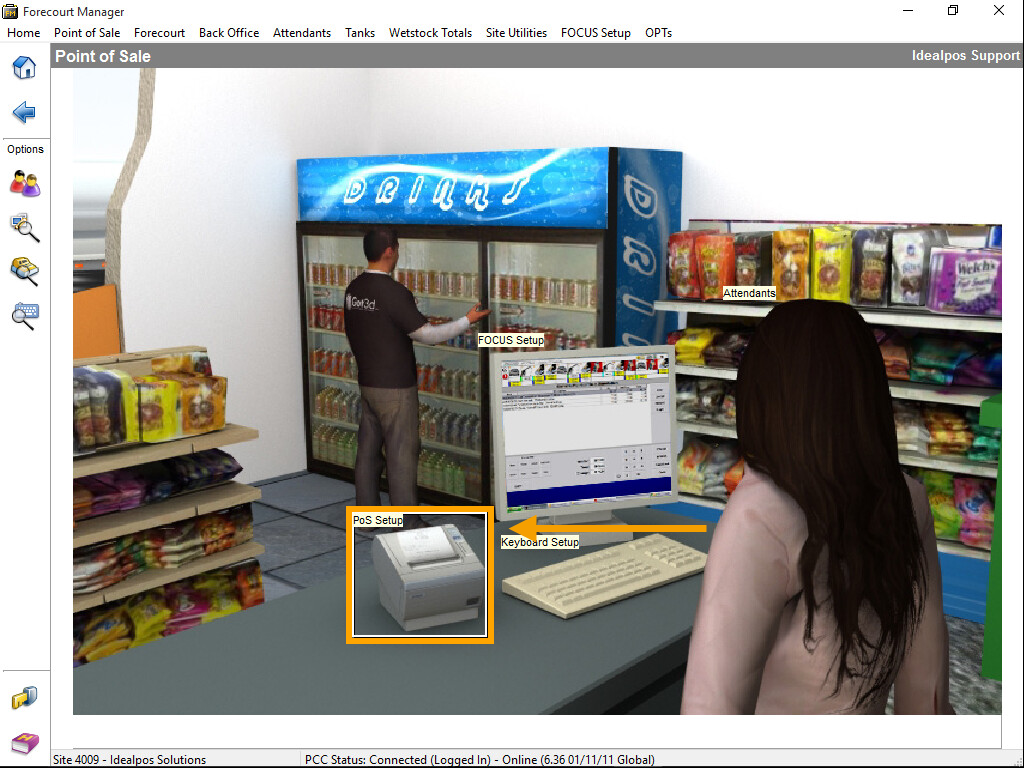
You will need to access both the FOCUS Setup and Point of Sale Setup menu to configure settings.
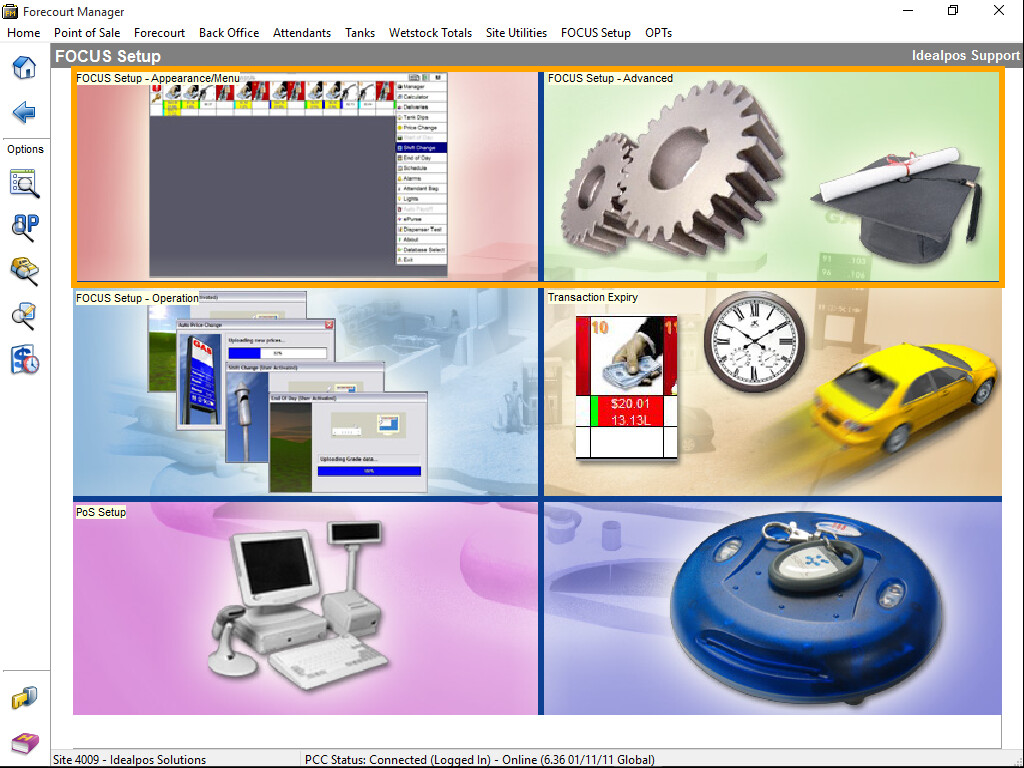
There are numerous ways to access the FOCUS Setup and Point of Sale Setup menus.

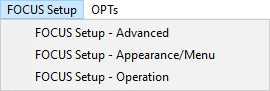

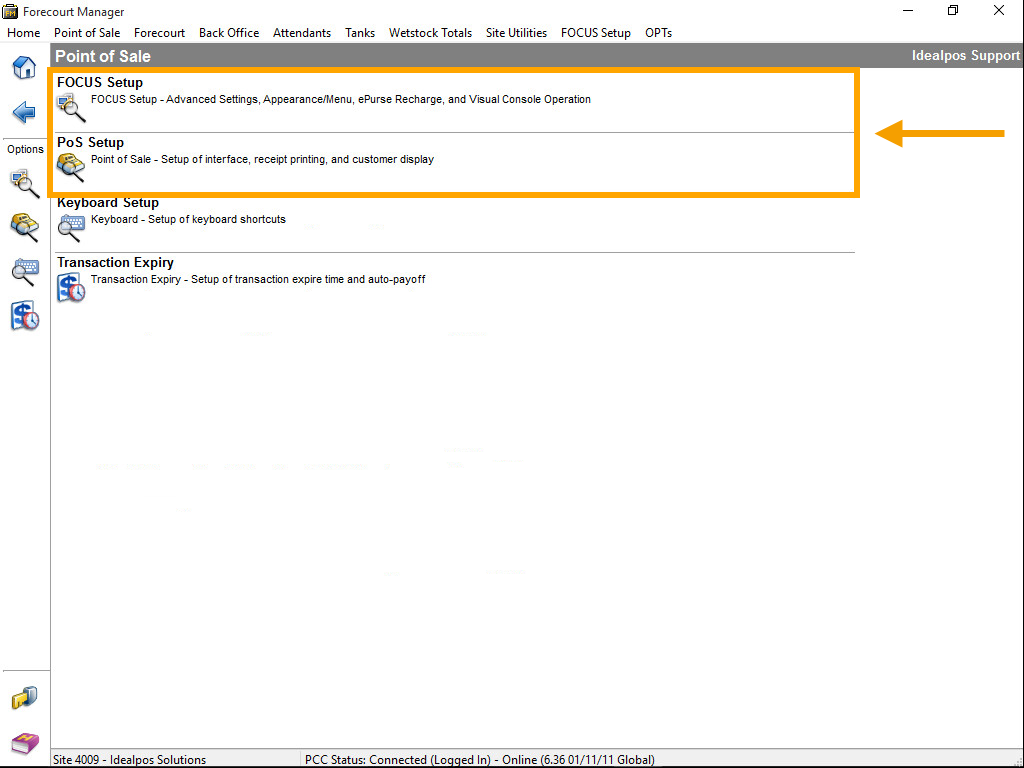
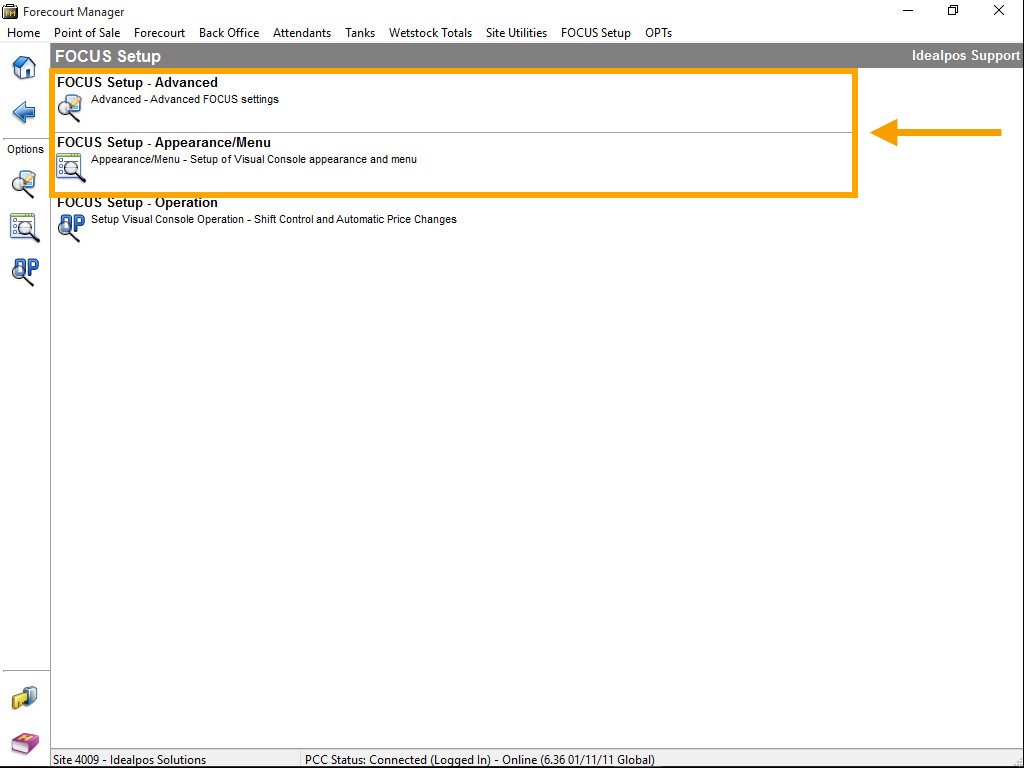
Within this menu you will need to access the FOCUS Setup – Advanced and FOCUS Setup – Appearance/Menu.
Similar to the previous steps, the screens will vary depending on whether you're using the Graphical or Detailed view.
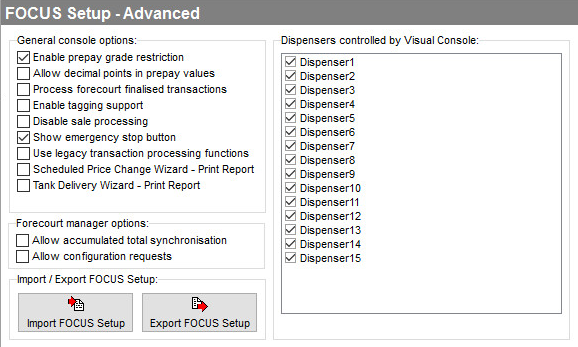
This section contains some options that can be selected to customise the way the software behaves and displays.
Australian installations by law require the ‘Show Emergency Stop Button’ option to be selected.
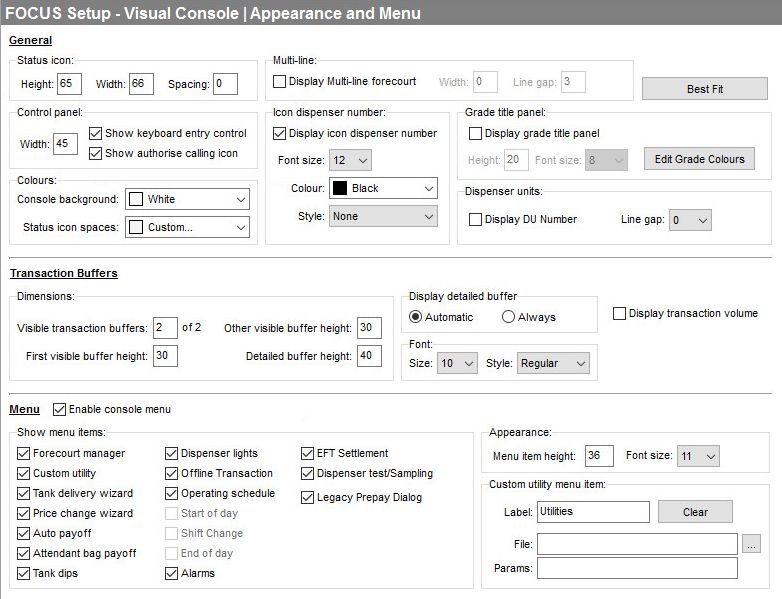
FOCUS Setup – Visual Console Appearance and Menu
This section contains settings that change the way the Visual Console will look on the screen.
As the Visual Console is displayed at the top of the Idealpos screen, some settings will need to be configured to allow it to display correctly.
The following options are the best to use for correct placement above Idealpos.
When changing these settings, check that the POS screen and Visual Console do not overlap.
These settings are a guide only and may need to be changed marginally depending on your POS Terminal and settings required from POSTEC.
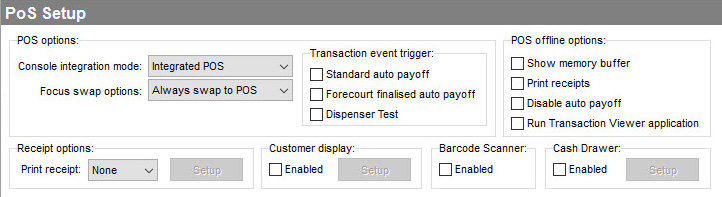
This section defines the integration mode. The following fields must be selected:
Console Integration Mode – Integrated POS
Focus Swap Options – Always Swap to POS
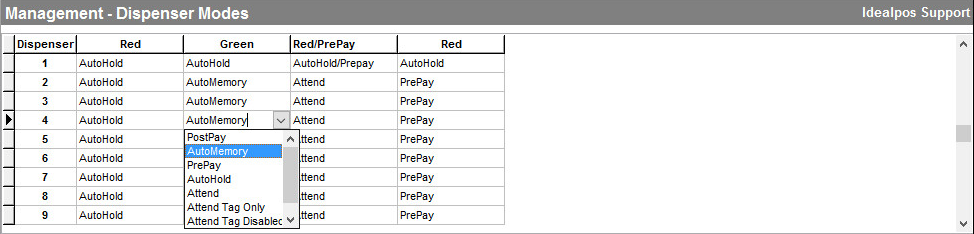
This section is used to configure the Dispenser Mode (e.g. Auto Hold, AutoHold/PrePay, Attend, PrePay, etc.) for each Dispenser/Pump.
The way Dispenser Modes are activated is via an Operating Schedule.
I.e. There are four Operating Schedules, and each Dispenser will have a Dispenser Mode assigned to that schedule.
When that Operating Schedule is active, the Dispenser Mode linked to that schedule will be used.
A couple of usage case examples for having multiple Operating Schedules with different Dispenser Modes are:
During daylight hours, you may want to have your pumps on AutoHold, so that when the customer lifts the nozzle, you will approve the action so the customer can fill up and enter the store to pay.
During late-night hours, you may want to have your pumps on PrePay (to prevent drive-offs), so that the customer will first need to enter the store and pre-pay for a pump, after which the pump will be enabled for them to return to their vehicle and fill up.
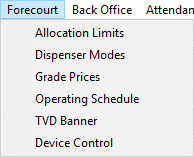
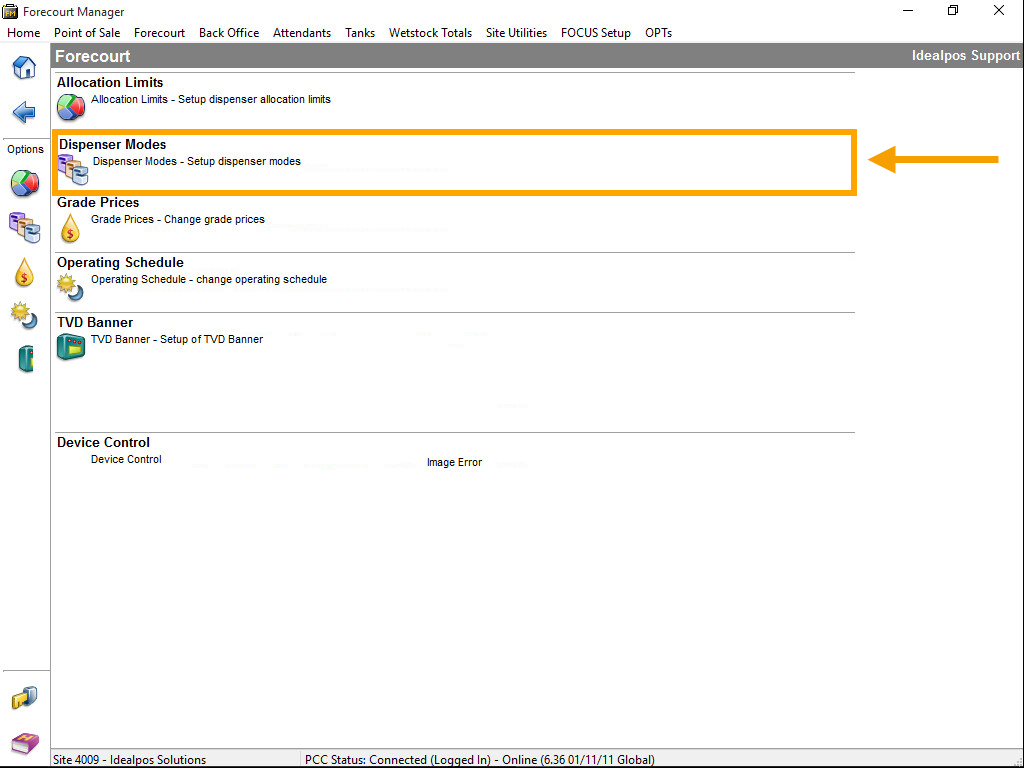
Similar to the other options outlined above, there are numerous methods to access the Dispenser Modes configuration.
In this section, the column headers contain the Dispenser, Schedule 1 Name, Schedule 2 Name, Schedule 3 Name and Schedule 4 Name.
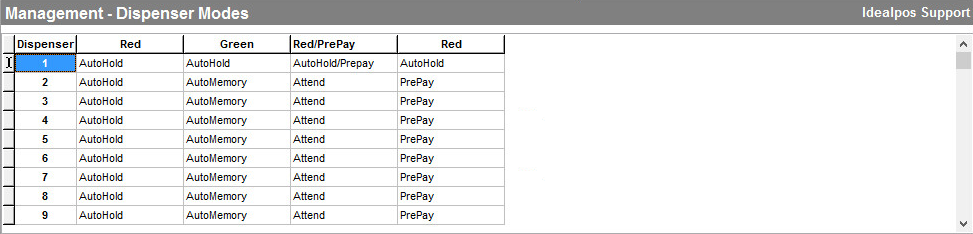
To change a Dispenser's Mode for a particular Operating Schedule, click in the field that corresponds to the desired Dispenser and Schedule.
The below example shows the selection of the Dispenser Mode for Dispenser 4 - Operating Schedule 2 (Green).